**Posts contain affiliate links and I will be compensated at no extra cost to you if you make a purchase after clicking on my links.

Monday, December 31, 2012

Homemade Christmas

The new year will be here in a few hours so I wanted to share a little Christmas before 2012 is over.

Clockwise: Stocking hung on the stair case; Amazing Grace Metal Cross; Coffee Filter Wreath; Chalkboard Cookie Jars; Painting on Canvas; Cheese Roll; Sharpie Baked Mug


This year we shared more homemade gifts with our family than ever before.  The gift exchange at my husband's family was a dirty Santa homemade gifts exchange.  It was so cool.  Everyone brought something they had made and we took turns opening the gifts and stealing from each other.  I wish I had taken pictures of the gifts everyone made.  My mother-in-law crocheted a beautiful doily and my sister-in-law made ceramic bowls.  Even my teenage niece made a scarf.  My son came home and in one afternoon made a sharpie ceramic cup for his sister and a painting for the dirty Santa exchange.  My husband cuts metal and made several Amazing Grace crosses for gifts.  My daugter is a fantastic cook and made a huge tin of different Christmas candies.


Chalkboard Label Cookie Jars
My son and I turned to Pinterest for our ideas for the gift exchange.  I made Chalkboard Label Cookie Jars complete with cookies, extra chalk, extra labels, (my hubby cut the labels with the Silhouette vinyl cutter), an eraser, and a gift card. I purchased the jars at Walmart and the chalkboard vinyl came from Hobby Lobby.  The cookies are so easy. 


Cake Mix Cookies
Cake Mix Cookies
 
1 cake mix (any flavor)
1/2 cup vegetable oil
2 eggs
1 cup of chocolate chips or nuts
Preheat oven to 350.  Mix cake mix with oil and eggs.  Add chips and nuts.  Drop by tablespoon size onto cookie sheet.   Bake at 350 for 13-15 minutes.  This recipe makes 2 dozen cookies.
 
For the chocolate cookies, use a chocolate cake mix and add 1/2 cup of chocolate chips and 1/2 cup peanut butter chips.  For chocolate chip cookies, use a yellow cake mix and 3/4 cup of chocolate chips and 1/2 cup of pecans.  Let you imagination lead you and have fun.
 
 
It's not Christmas here until the Cheese logs are made for the holiday season.  This recipe was my grandmother's and always reminds me of her.  That song, "Grandma Got Run Over by a Reindeer" also brings back memories of her.  She was a nut and I loved her so.


Southern Cheese Roll
 
2 lbs. cheddar cheese
1 c. pecans
1/4 t. garlic powder
1/2 lb. Velveeta
1/2 t. seasoned salt
1 8oz pkg. cream cheese
1 t. Worcestershire sauce
 
3 T. chili powder
3 T. Paprika
 
Grind cheddar cheese and pecans in food grinder.  (I use the food processor)  Mix in garlic powder, Velveeta, seasoned salt, cream cheese and Worcestershire.  Work with hands to knead until well blended.  Shape mixture into rolls about the size of small crackers and about 6 to 7 inches in length.  Roll the log in a mixture of chili powder and paprika.  Wrap in waxed paper and chill.  Slice to serve.  Makes 7 or 8 rolls.
 
Now to cut up some cheese and get my New Year on!
Happy New Year,


Linking up with:

Friday, December 21, 2012

Precious Moments Panel Quilt

This is a UFO I've had for so many years, I can't really remember how long it's been stuck away.  I brought it out last January and decided it would get done.  It is done just in time to give to my Precious Moments collecting friend for Christmas.


The panel in the middle was a clearance pre-quilted panel with backing that was crooked and half the stitching was missing.  The price was $1.00 and I thought at that price, something could be done with it.   I took everything apart and started over by adding 9 patch blocks of yellow and pink polka dot fabric.  I chose to use bright colors because Kristy loves them.

Precious Moments Quilt Panel Pieces

I cut the back of panel into strips and pieced the strips into a border with some pieced diamonds from the polka dot fabrics.  The math to the design really challenged me and I found it quite rewarding when it all went together.


I found out the hard way that certain marking pencils aren't right for quilting with white thread.  In fact, the reason this quilt was a UFO for so long was all the crazy things that went wrong with it every time I picked it up.  Putting Kristy's name on the quilt wasn't planned, but all the stained thread had to be covered somehow.  Mistakes sometime make great rewards. I love the quilt even more with her name on it.


I practiced a lot of free motion techniques on the quilt and learned a lot.  Outlining the boy and girl was a lot of fun and good practice.  Thank you Leah Day for so much free motion inspiration!


The binding is more of the pink dot fabric.  The finished size is 68" x 76".

Now this UFO is in my friend Kristy's house keeping her nice and warm.  It may have been a complete disaster at times but it finished beautifully.


Merry Christmas Kristy!


Linking up with:

Monday, December 17, 2012

And the Winner is...

Today I announce the winner of The 5th Birthday Celebration of the Quilting Gallery, Blog Hop Giveaway!

Drum roll please.....


Rhonda D. is the winner.  I will be e-mailing you Rhonda.  Congratulations!


The winning entry:


What a great giveaway. I would use them in a quilt. Thanks for the chance to win!
 
 
I had a lot of very nice comments and there was a lot of inspiration for those fat quarters.  Thank you everyone for entering my giveaway.
 
My 1st Blogiversary is coming in January so look for another giveaway soon.  Giving is too much fun and I have met so many crafters and quilters with all this celebrating. 
 
Hope you are having a giving kind of day,
 

Sunday, December 9, 2012

Blog Hop Party Giveaway

If you are here because of the Birthday Blog Hop Party at Quilting Gallery, WELCOME! This is where I share my quilting, crafting, and recipe adventures. 

I am happy to be participating in the 5th Birthday Celebration of Quilting Gallery.  Thank you Michele for organizing this blog hop and congratulations to you!

Blog Hop Party with Give-Aways
 
 
My latest project was inspired by The Quilting Gallery's Quilts for Sandy Block Drive.   The drive is ongoing and you can still get in on helping to send quilts to the victims of that awful storm.   I made 4 blocks for the drive and had so much fun with the wonky log cabin blocks, I decided to make a quilt of them for a family dirty Santa gift exchange.  Since it's scrappy, it will fit with the price limit and will be a fun gift.   I used the Quilting Gallery's Wonky Scrappy Log Cabin Tutorial 
to make the quilt top.


Giveaway:
 
For the Blog Hop Party, I'm giving away a fabric stash builder of 6 fat quarters. 


To enter my random drawing:
  1. Leave a comment below about how you will use this sweet bundle
  2. If you are a new or old follower, leave a comment and tell me you are
 
That's 2 sweet chances to win!  Anyone can enter, but be sure I can get in contact with you (e-mail, google, etc.) if you are the winner.  Entries close December 15th at 11 pm eastern. Winner will be announced by Monday December 17th. 
 
There are over 150 bloggers participating in giveaways over at Quilting Gallery's Blog Hop Party so go hopping. 
 
December is a month of giving,


Saturday, December 8, 2012

Burlap Wreath for the "BRRR" Season

It's is actually getting cold here.  It's been so warm it's hardly seemed like Christmas time.  Maybe we'll see some snow tomorrow, well the weather man says we have a 40 percent chance which means there is a 60 percent chance it probably won't.

Today I worked on a copycat challenge.  I call it that, but the directions for the wreath were in the magazine.  I made it mine though....

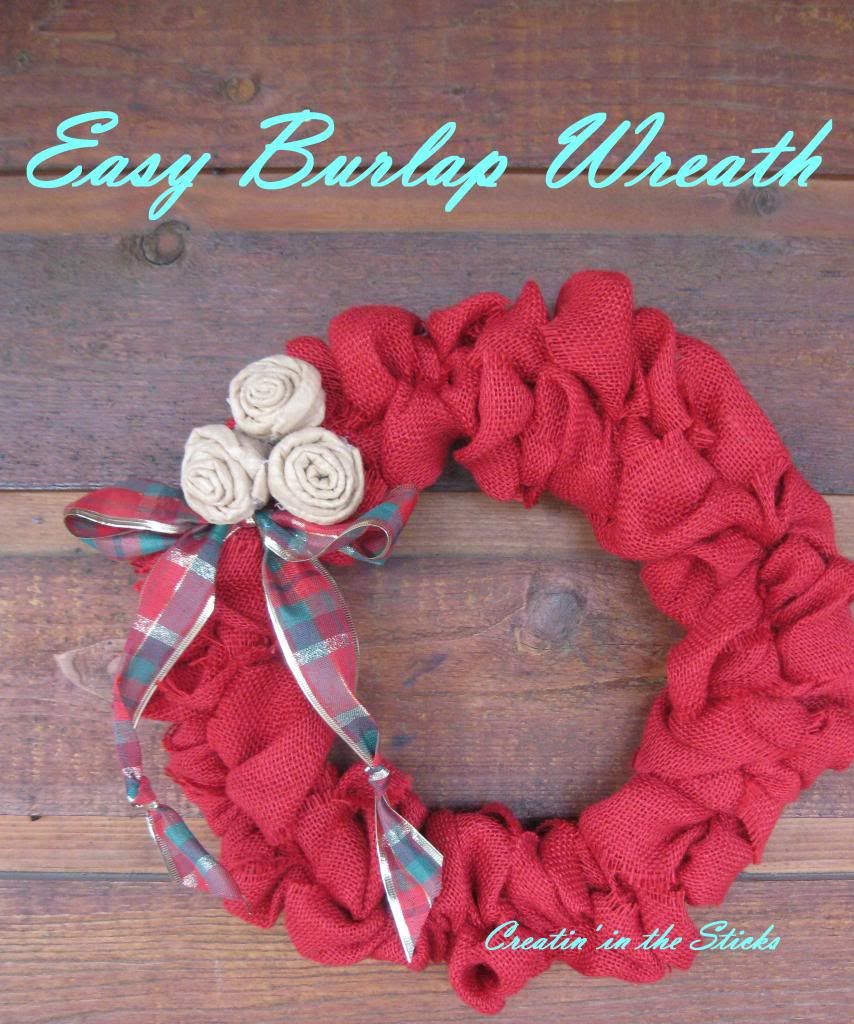
Burlap Wreath with Felt Roses
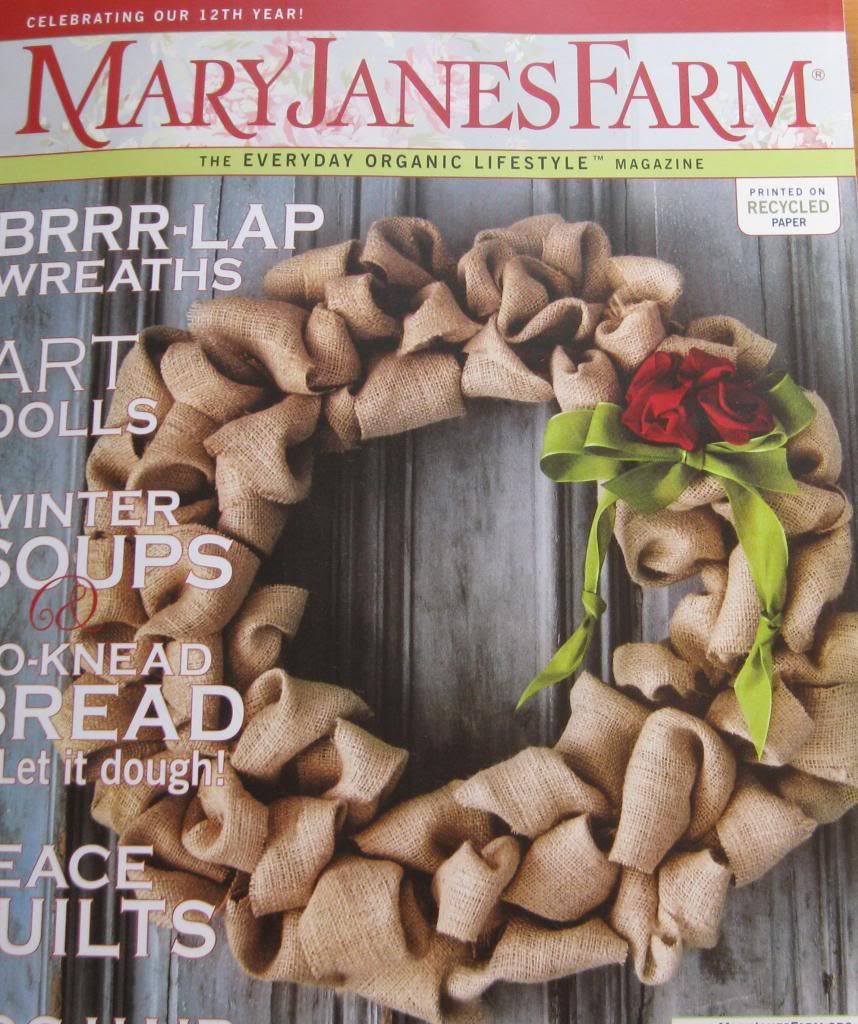
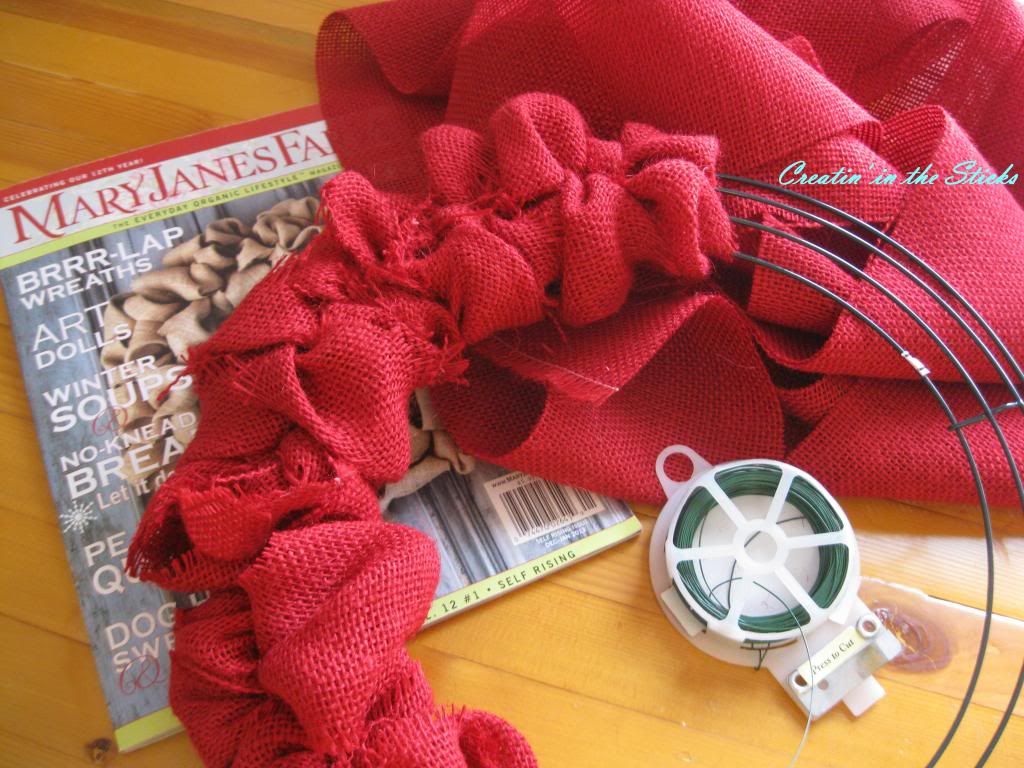
The directions for the wreath are on page 67 of the magazine "Mary Janes Farm" Dec-Jan 2013 edition.  The magazine's version of the wreath is on the cover.  A friend brought this magazine to me last week and I was instantly in love.  A subscription for this mag is on my wish list for Christmas.


Living in a cabin where everything is brown, I opted to use red burlap and instead of ribbon roses, I made mine out of felt. 


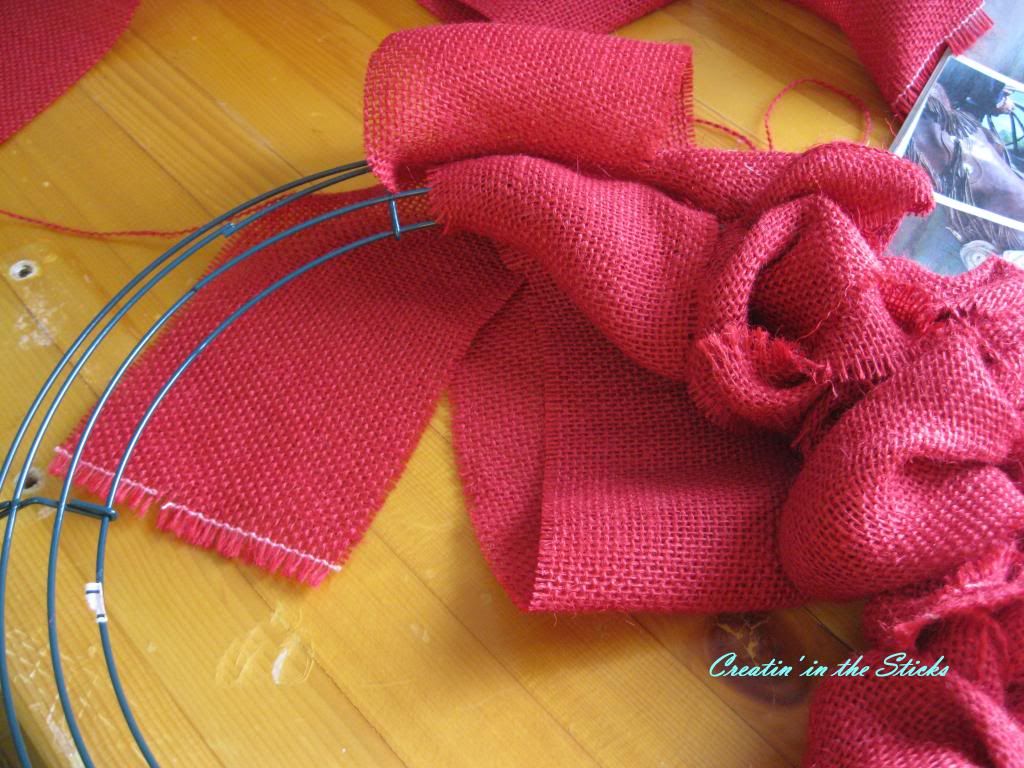
All you do is wire one end of a 4" burlap strip to the back of the wire wreath in the middle and wrap the burlap around to the front and back through the middle.  Keep adding strips and wrapping the middle and outside of the wreath until it's nice and full.


When the burlap is all wrapped, add ribbon and fabric roses.  Done.  Fast and perfect for the porch.  It goes very well with my burlap wrapped tree.


It's starting to feel a little like Christmas,


Linking up with:

2012 holiday knock-off decor party at Debbie Doos
Cherishedbliss - A Crafty Christmas Link Party
ABL Button   


sew many ways