**Posts contain affiliate links and I will be compensated at no extra cost to you if you make a purchase after clicking on my links.

Monday, December 17, 2012

And the Winner is...

Today I announce the winner of The 5th Birthday Celebration of the Quilting Gallery, Blog Hop Giveaway!

Drum roll please.....


Rhonda D. is the winner.  I will be e-mailing you Rhonda.  Congratulations!


The winning entry:


What a great giveaway. I would use them in a quilt. Thanks for the chance to win!
 
 
I had a lot of very nice comments and there was a lot of inspiration for those fat quarters.  Thank you everyone for entering my giveaway.
 
My 1st Blogiversary is coming in January so look for another giveaway soon.  Giving is too much fun and I have met so many crafters and quilters with all this celebrating. 
 
Hope you are having a giving kind of day,
 

Sunday, December 9, 2012

Blog Hop Party Giveaway

If you are here because of the Birthday Blog Hop Party at Quilting Gallery, WELCOME! This is where I share my quilting, crafting, and recipe adventures. 

I am happy to be participating in the 5th Birthday Celebration of Quilting Gallery.  Thank you Michele for organizing this blog hop and congratulations to you!

Blog Hop Party with Give-Aways
 
 
My latest project was inspired by The Quilting Gallery's Quilts for Sandy Block Drive.   The drive is ongoing and you can still get in on helping to send quilts to the victims of that awful storm.   I made 4 blocks for the drive and had so much fun with the wonky log cabin blocks, I decided to make a quilt of them for a family dirty Santa gift exchange.  Since it's scrappy, it will fit with the price limit and will be a fun gift.   I used the Quilting Gallery's Wonky Scrappy Log Cabin Tutorial 
to make the quilt top.


Giveaway:
 
For the Blog Hop Party, I'm giving away a fabric stash builder of 6 fat quarters. 


To enter my random drawing:
  1. Leave a comment below about how you will use this sweet bundle
  2. If you are a new or old follower, leave a comment and tell me you are
 
That's 2 sweet chances to win!  Anyone can enter, but be sure I can get in contact with you (e-mail, google, etc.) if you are the winner.  Entries close December 15th at 11 pm eastern. Winner will be announced by Monday December 17th. 
 
There are over 150 bloggers participating in giveaways over at Quilting Gallery's Blog Hop Party so go hopping. 
 
December is a month of giving,


Saturday, December 8, 2012

Burlap Wreath for the "BRRR" Season

It's is actually getting cold here.  It's been so warm it's hardly seemed like Christmas time.  Maybe we'll see some snow tomorrow, well the weather man says we have a 40 percent chance which means there is a 60 percent chance it probably won't.

Today I worked on a copycat challenge.  I call it that, but the directions for the wreath were in the magazine.  I made it mine though....

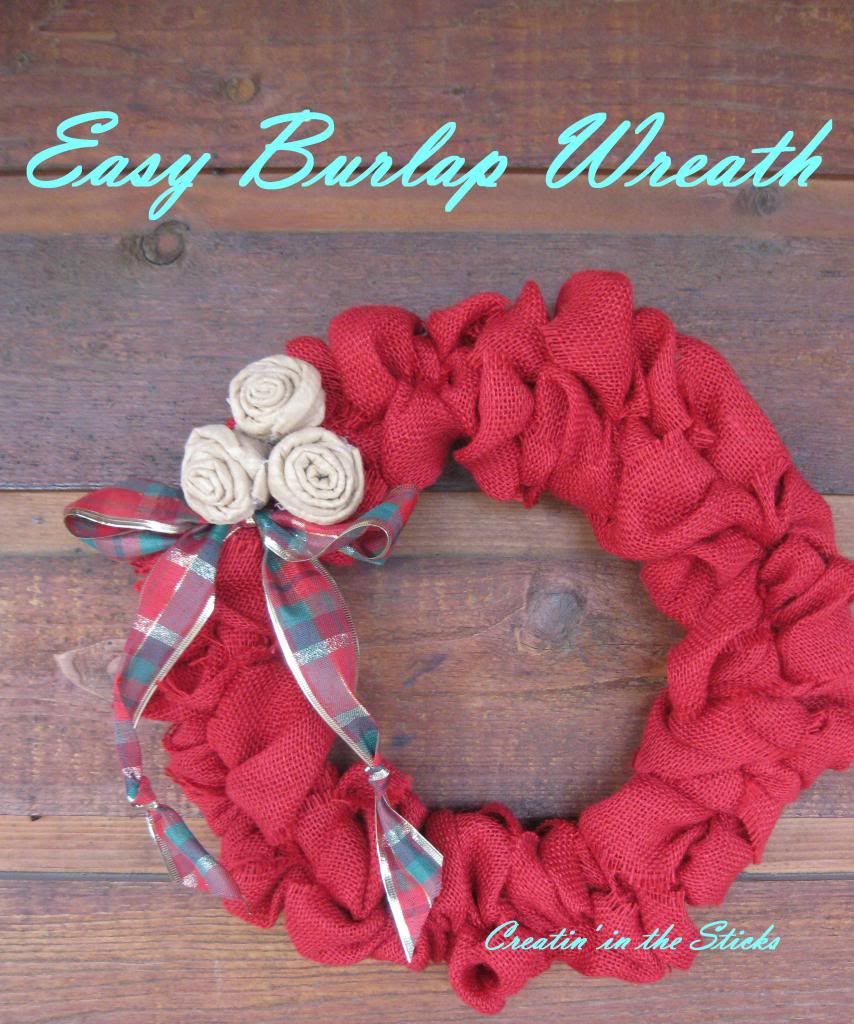
Burlap Wreath with Felt Roses
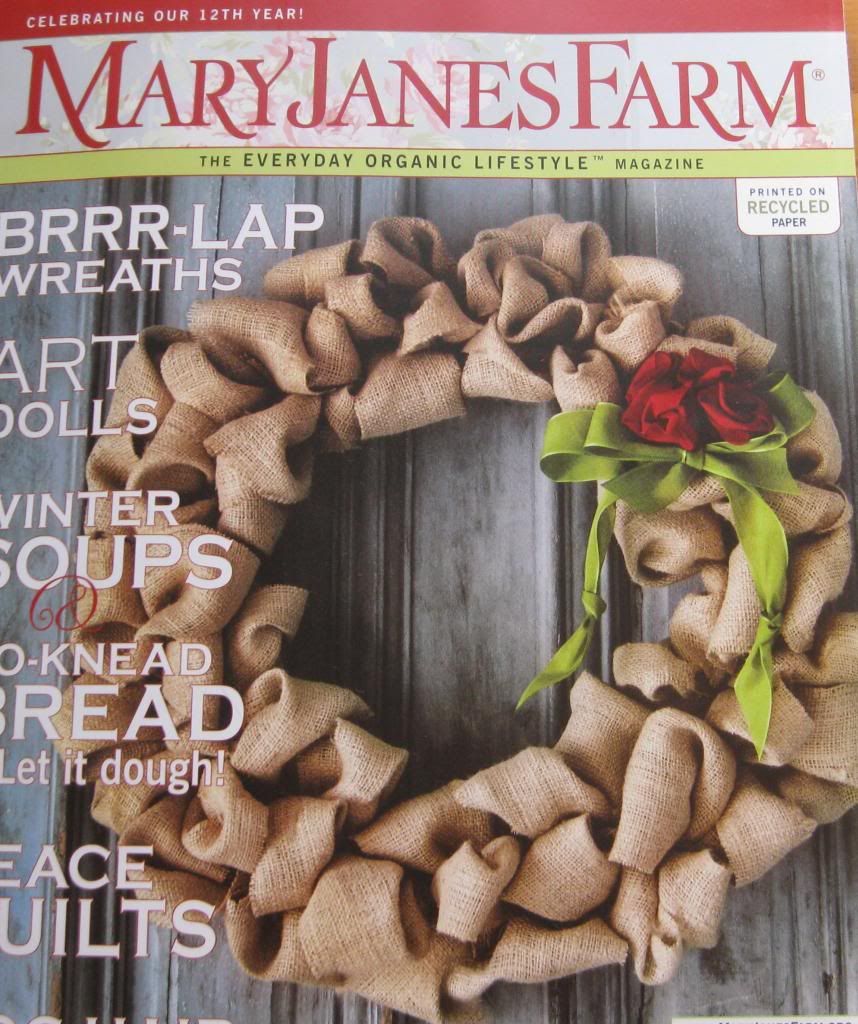
The directions for the wreath are on page 67 of the magazine "Mary Janes Farm" Dec-Jan 2013 edition.  The magazine's version of the wreath is on the cover.  A friend brought this magazine to me last week and I was instantly in love.  A subscription for this mag is on my wish list for Christmas.


Living in a cabin where everything is brown, I opted to use red burlap and instead of ribbon roses, I made mine out of felt. 


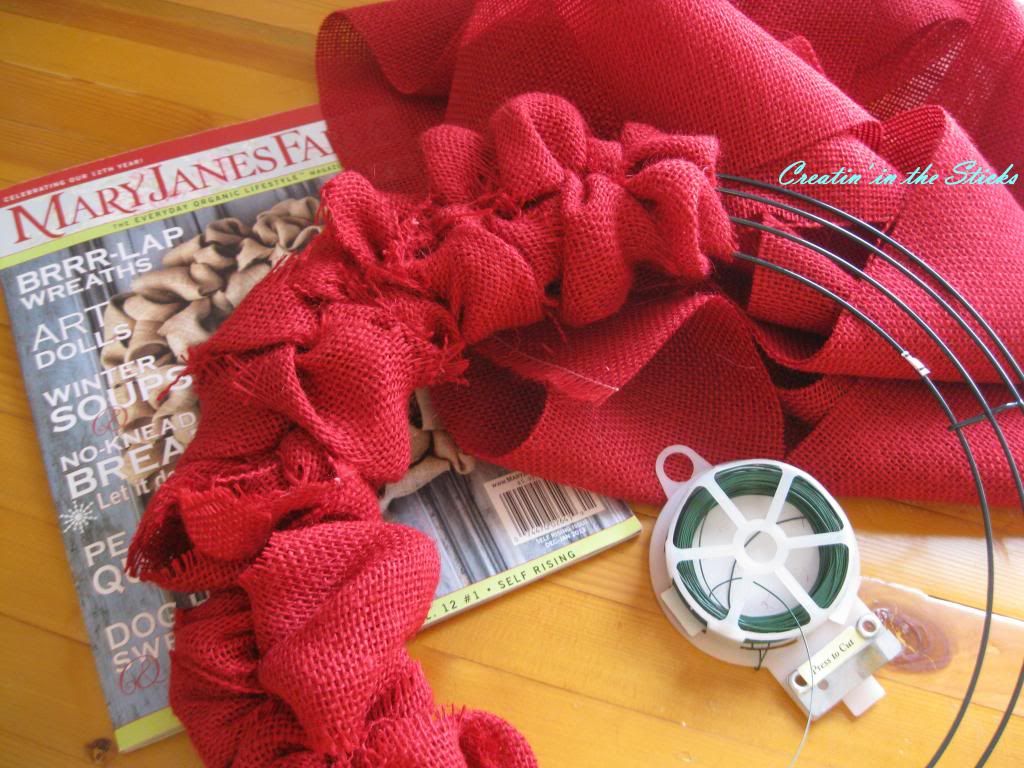
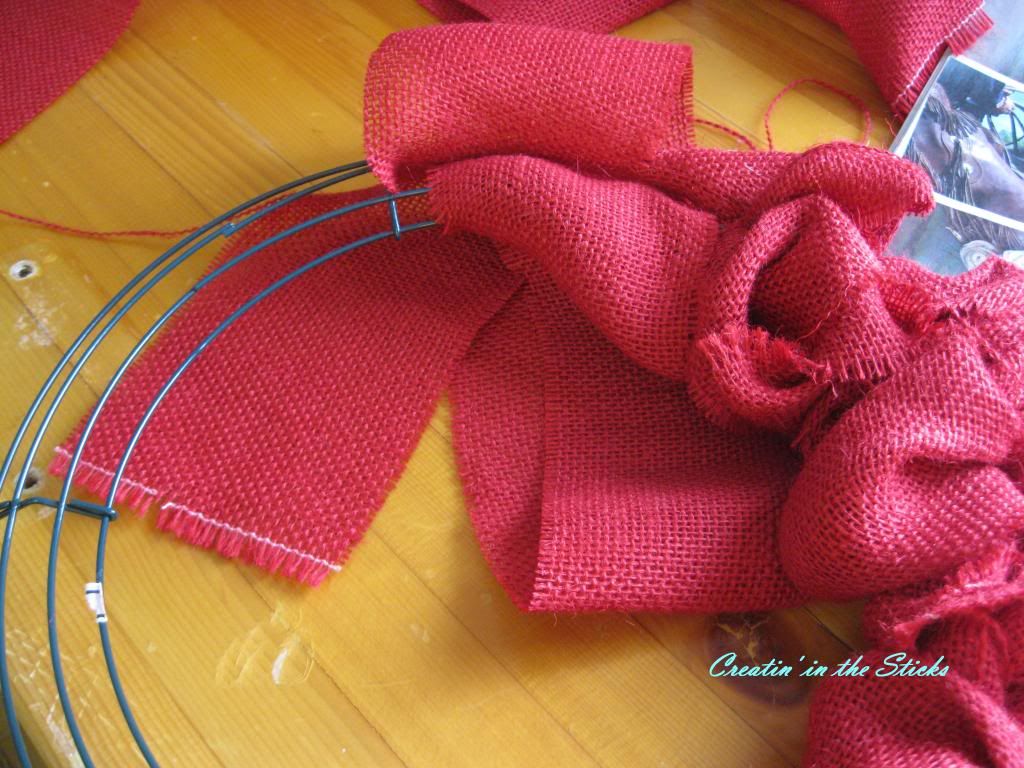
All you do is wire one end of a 4" burlap strip to the back of the wire wreath in the middle and wrap the burlap around to the front and back through the middle.  Keep adding strips and wrapping the middle and outside of the wreath until it's nice and full.


When the burlap is all wrapped, add ribbon and fabric roses.  Done.  Fast and perfect for the porch.  It goes very well with my burlap wrapped tree.


It's starting to feel a little like Christmas,


Linking up with:

2012 holiday knock-off decor party at Debbie Doos
Cherishedbliss - A Crafty Christmas Link Party
ABL Button   


sew many ways

Friday, December 7, 2012

And the Winner Is...


Today is the end of Sew Mama Sew Giveaway Day.  The winner is:

Congratulations SIMPLESEW!  I will be in contact with you or feel free to drop me a line!  She is planning to make mug rugs for stocking stuffers with her winnings.  She has won the green!  Fabric, that is.


I loved all the great comments.  Thank you to all participants and new followers. 


I'll be joining the 5th Birthday Party for The Quilting Gallery.  It starts December 10th, so come back here to sign up for my next giveaway then.  I may have more green to give away.


  Blog Hop Party with Give-Aways
 
 
Thanks for all the great "green" ideas!


How to Make a Flannel Rag Baby Quilt

The best gifts for babies are ones that are keepsakes made just for them to treasure.  Flannel rag quilts are so soft and pretty.  I love to make them for family and friends.  Adding applique names make them even more special.


The latest one I made was given to my newest niece.  The finished size was 39" x 52".


Flannel Rag Baby Blanket Tutorial:

I used 2 1/4 yards of 3 different flannel fabrics cut into 8 inch squares.  You need 48 squares of each color.  That's 144 8" squares total. 


Each block in the quilt is 3 flannel layers thick.  I used a light pink square in the middle of the teal and also the flower squares.  This picture shows how to make the layers.  You will have 48 blocks of 3 layers.


Once the layers are laid out together, it's time to sew the layers together.  Every square is sewn in an x pattern corner to corner.  I use painter's tape to mark a straight line from the needle and just guide the corner  of the block along the tape.  There's no need to mark the squares.


Decorative stitches are a fun way to stitch the x pattern in the blocks.  Just stitch one line corner to corner, then stitch the other way corner to corner.  I used a flower stitch on the teal blocks and a wavy stitch on the flower blocks.


Lay out the blocks to position them where you want them.  The blank blocks in the picture are the ones that will be appliqued with letters. 


Personalizing the quilt is another fun way to make the baby blanket extra special. I didn't take pictures of the appliqueing process, but it's pretty simple. You will need extra fabric if you choose to add a name to the quilt. Just find a font on your word program on a computer and type out the name. The font I used was Berlin Sans FB at a size of 600. I've used a smaller font when the blocks are smaller for larger names. I usually plan the whole blanket around how many letters are in the name. Print the name and cut it out.  I just pin the letters to the fabric and cut out the fabric.  For each letter block cut one light pink letter and one flower letter. Layer the letters together so that the pink is under the flower fabric letter.  That's 2 layers of fabric per letter. This will make the letters nice and fringy (spell check says that fringy isn't a word, but I can't think of another way to say it).  I don't stitch an x pattern in the blocks with letters. Center the letters on the blocks and stitch around each letter. This is pretty thick (3 layers of block and 2 layers of letter fabric) so I use my walking foot to stitch the letters down. Stitch about 1/4" from the edge of the letter. My machine has a triple stitch I like to use on this to really make it sturdy because I like to fringe the letters by clipping the seam allowances. Clip around each letter about every 1/2".


Stitch all the blocks together right sides together with the seam allowances on top of the quilt with 1/2" seams.  The back of the quilt will not have fringe.  Here is a picture of how the seams go together.  Stitch 6 blocks across and 8 blocks up and down.  Press the seems open as you go.  I used to try to press allowances to one side and lock the seams, but that was too bulky for my machine. 
 
 
Once the blocks are sewn together, sew a 1/2" around the whole quilt.  Once again, I like to use a triple stitch on the outside to make the quilt stronger.


Now clip the seam allowance with scissors about every 1/2" and almost to the stitching but be careful not to cut the stitching.  (Learned that the hard way a long time ago).  It is better to cut about 1/2 way into the seam allowance.
 
Once the blanket has been clipped it is ready to be washed a couple of times.  This is not optional and should be taken to a laundry mat and done in a commercial machine.  If you have used nice quilt shop flannel, it may not be necessary to use a commercial machine.  Some flannels are messier than others.  I have washed and dried them at home the first couple times, but YOU MUST KEEP WATCH OF YOUR LINT FILTER IN THE DRYER.  After a couple of washings the blanket is all fluffed and gentle cycle washing will be great for the rest of quilts life.
 
 
I'm not great at explaining, so if you have questions feel free to leave a comment and I will try to explain better.  lol
 
Here are some other rag quilt posts:


Hope this answers some of those questions and doesn't confuse,


Linking up with:
 
Plum and June

Sew at Home Mummy
 
sew many ways